Overview
This guide explains how to create a new sales order at StockUnify.
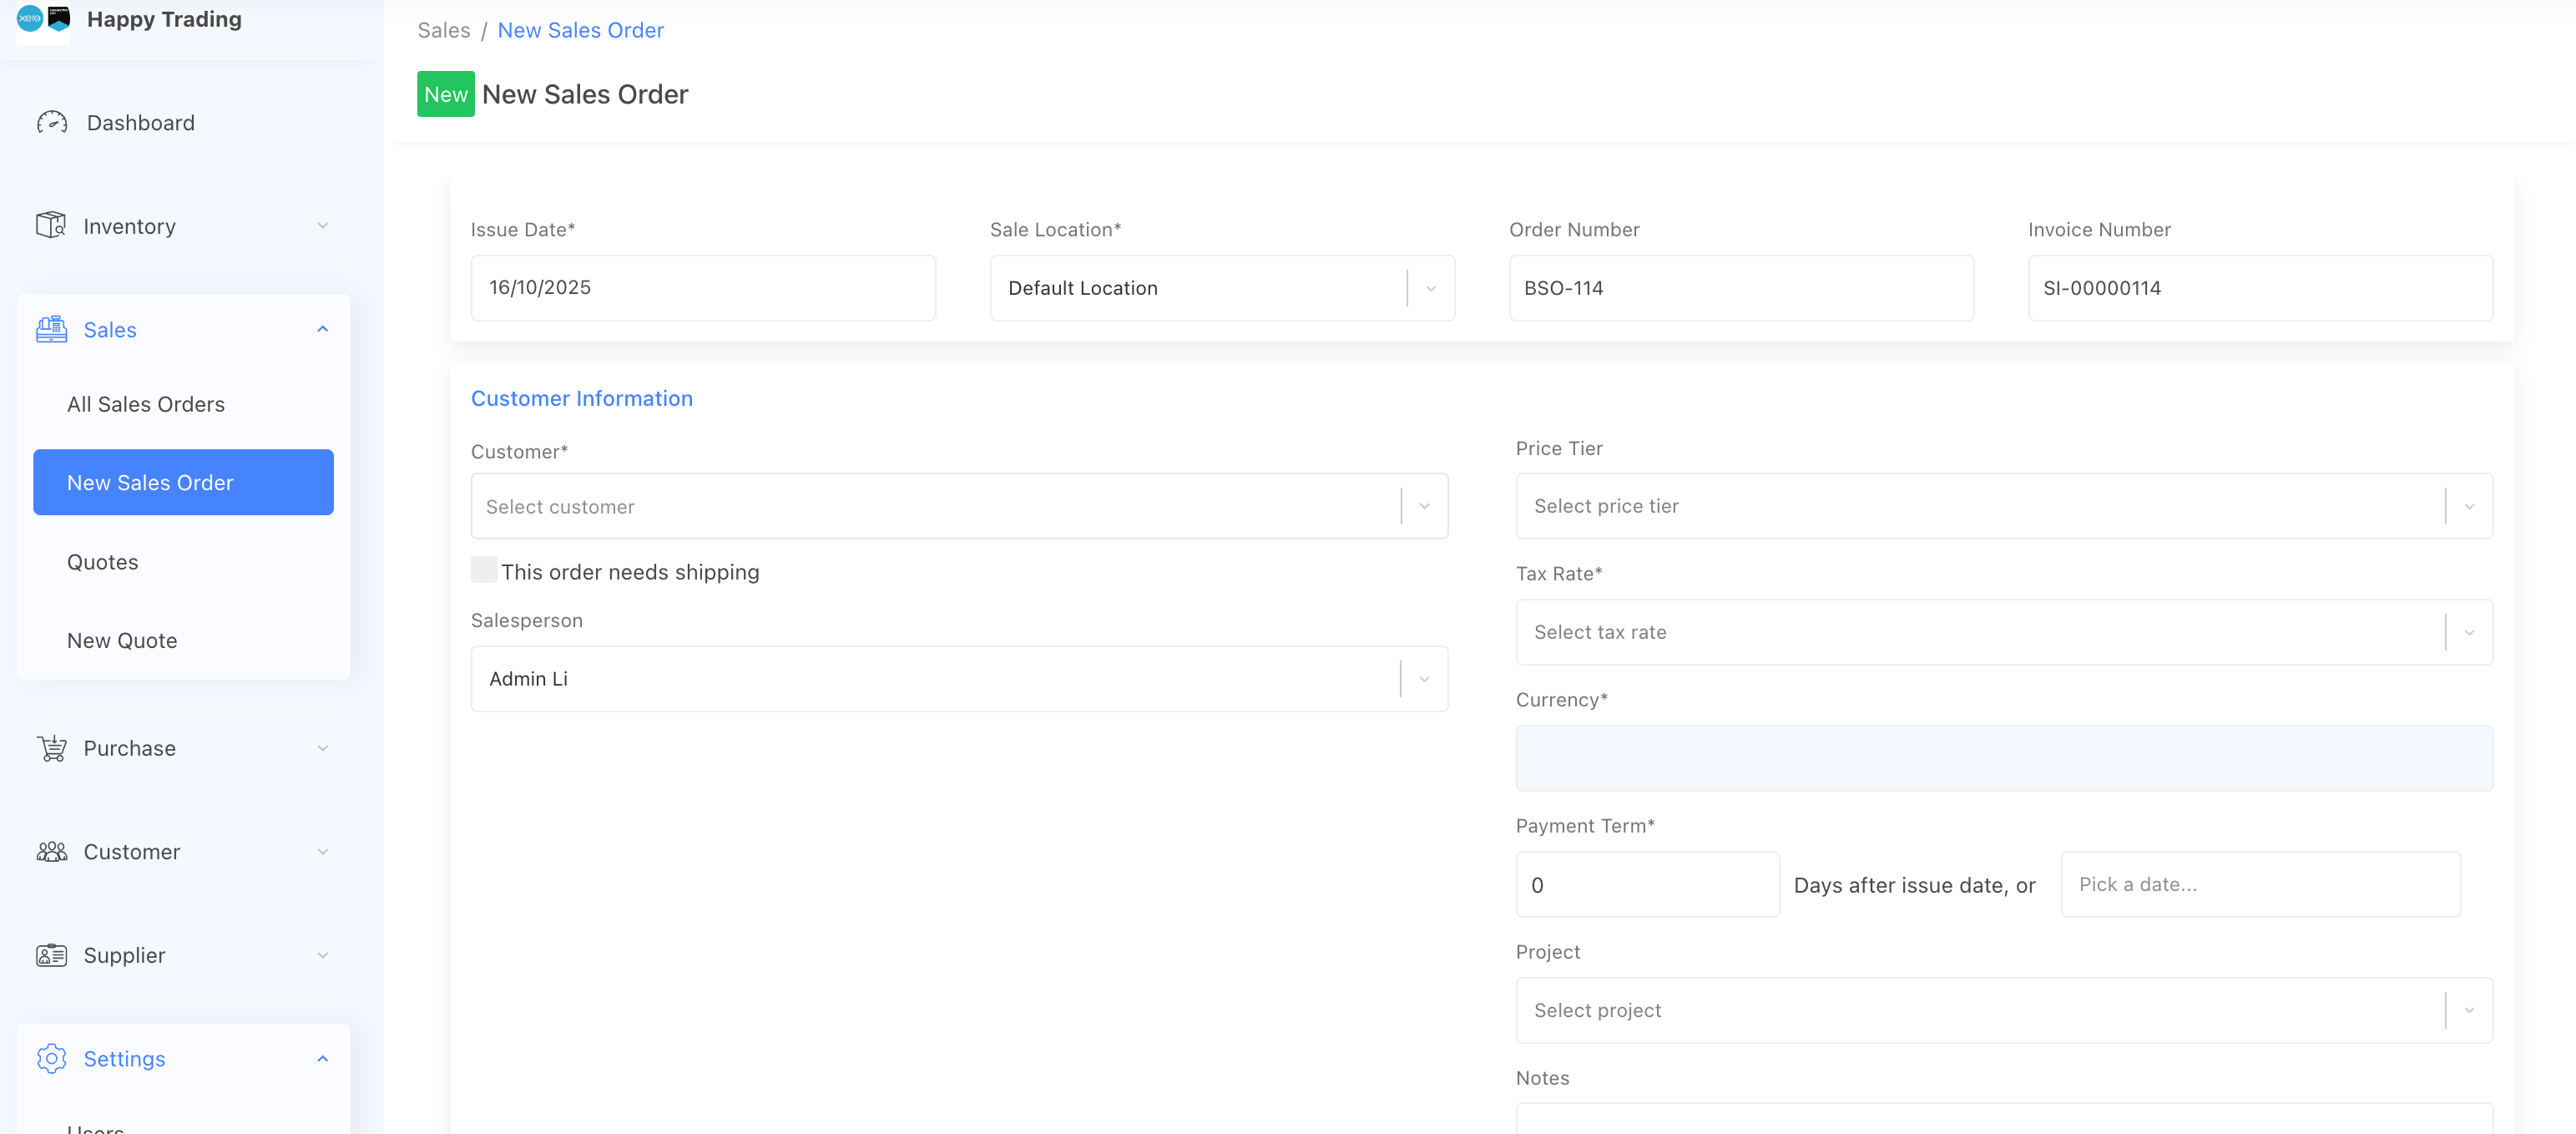
From the side menu, navigate to [Sales] -> [New Sales Order], then you will see the New Sales Order screen.
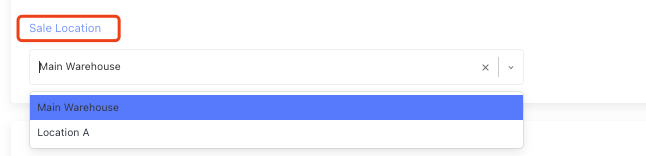
1. Select location
The location field will automatically be filled with the user's default location. You can change it if needed.
2. Order number and invoice number
Order number/Invoice number: the order number/invoice number fields are auto-filled. You can customize your order number pattern under [System Settings] -> [Sales Order] or edit these fields directly.
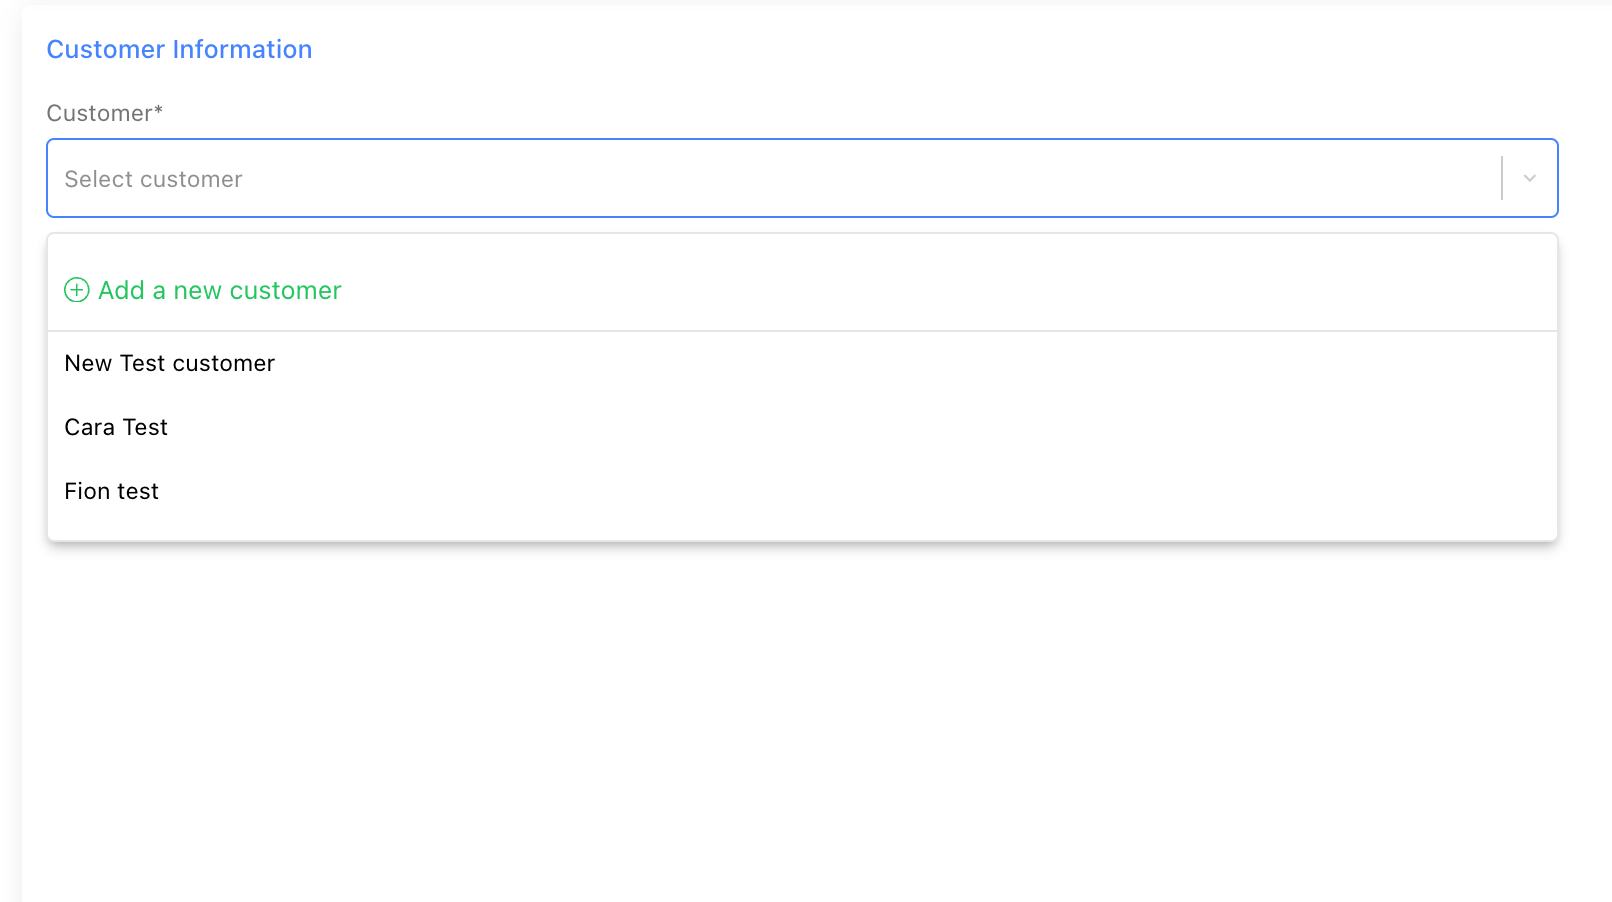
3. Select a Customer
Select a customer from the dropdown menu, or type a few characters to search for the customer. If you would like to add a new customer, just click the [ Add a new customer] button, it will bring a pop-up window to allow you to add a new customer directly. The new customer will be automatically selected for the order.
Once a customer is selected, it will auto-fill the tax rate, currency, price tier and payment term fields according to customer preset values.
4. Add Products to the sales order
Use the search field to add products to a sales order. type a few characters of product name/code to search for products.
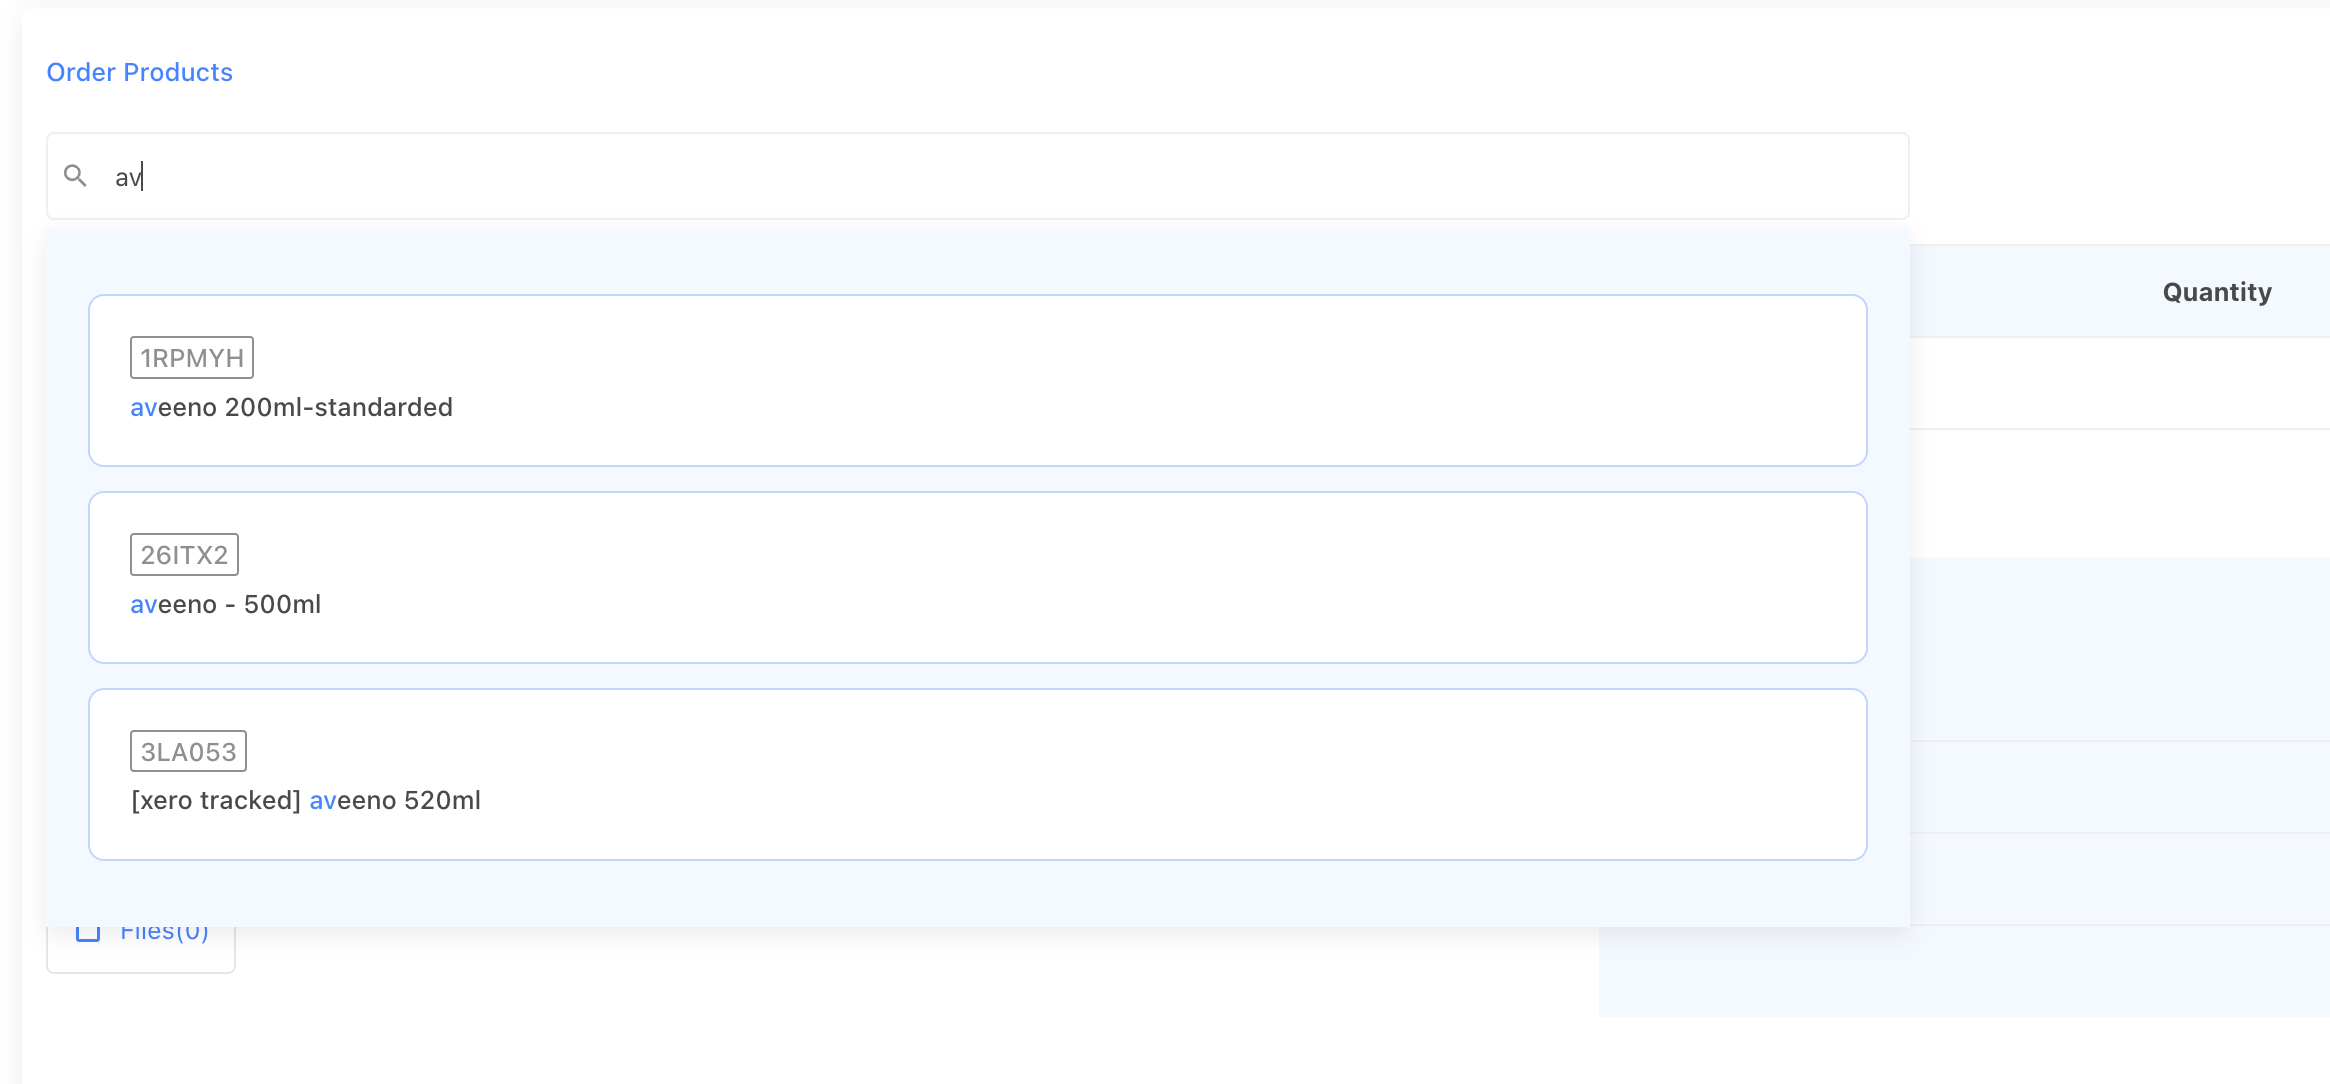
After you select a product, fill in the unit price, discount, and quantity fields of each row.
- The unit price is the sales price of the product. But if there is a custom price set for the product and a price tier is applied to this order, the unit price will be applied to the tier price. You can define whether the unit price is tax-inclusive or tax-exclusive, the default value can be set up from the [System Settings] page under [Sales Order] tab.
- The discount is optional.
- The quantity field supports only numbers and up to two decimals.

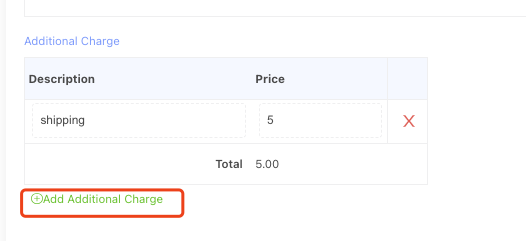
5. Add additional charge to sales order
Click the [Add Additional Charge] button to include extra charges such as shipping or handling fees.
6. Attach files to the order
Attach supporting files to the sales order by following the Attach files to sale order guide.
7. Save order
You can save the order as Draft, Back Order, Approved or Delivered.

Save as Draft: Save the order as Draft. and can not deliver products under this status.
Save as Back Order: When save, the system will not check the stock level. If only partially of the order has enough stock on hand, you can choose to save the order as Back Order. The order can be delivered later.
Approve Only : When save the system will check the stock level. If the order has enough stock on hand, can be saved as "Approved", when order saved as "Approved", the stock level will be locked for this order, so other order can not consume the stock levels, but the stock level will not be taken at this point
Approve and Deliver:When save the system will check the stock level. after proceed all the products in the order will be delivered immediately. the stock level will be adjusted at this point.
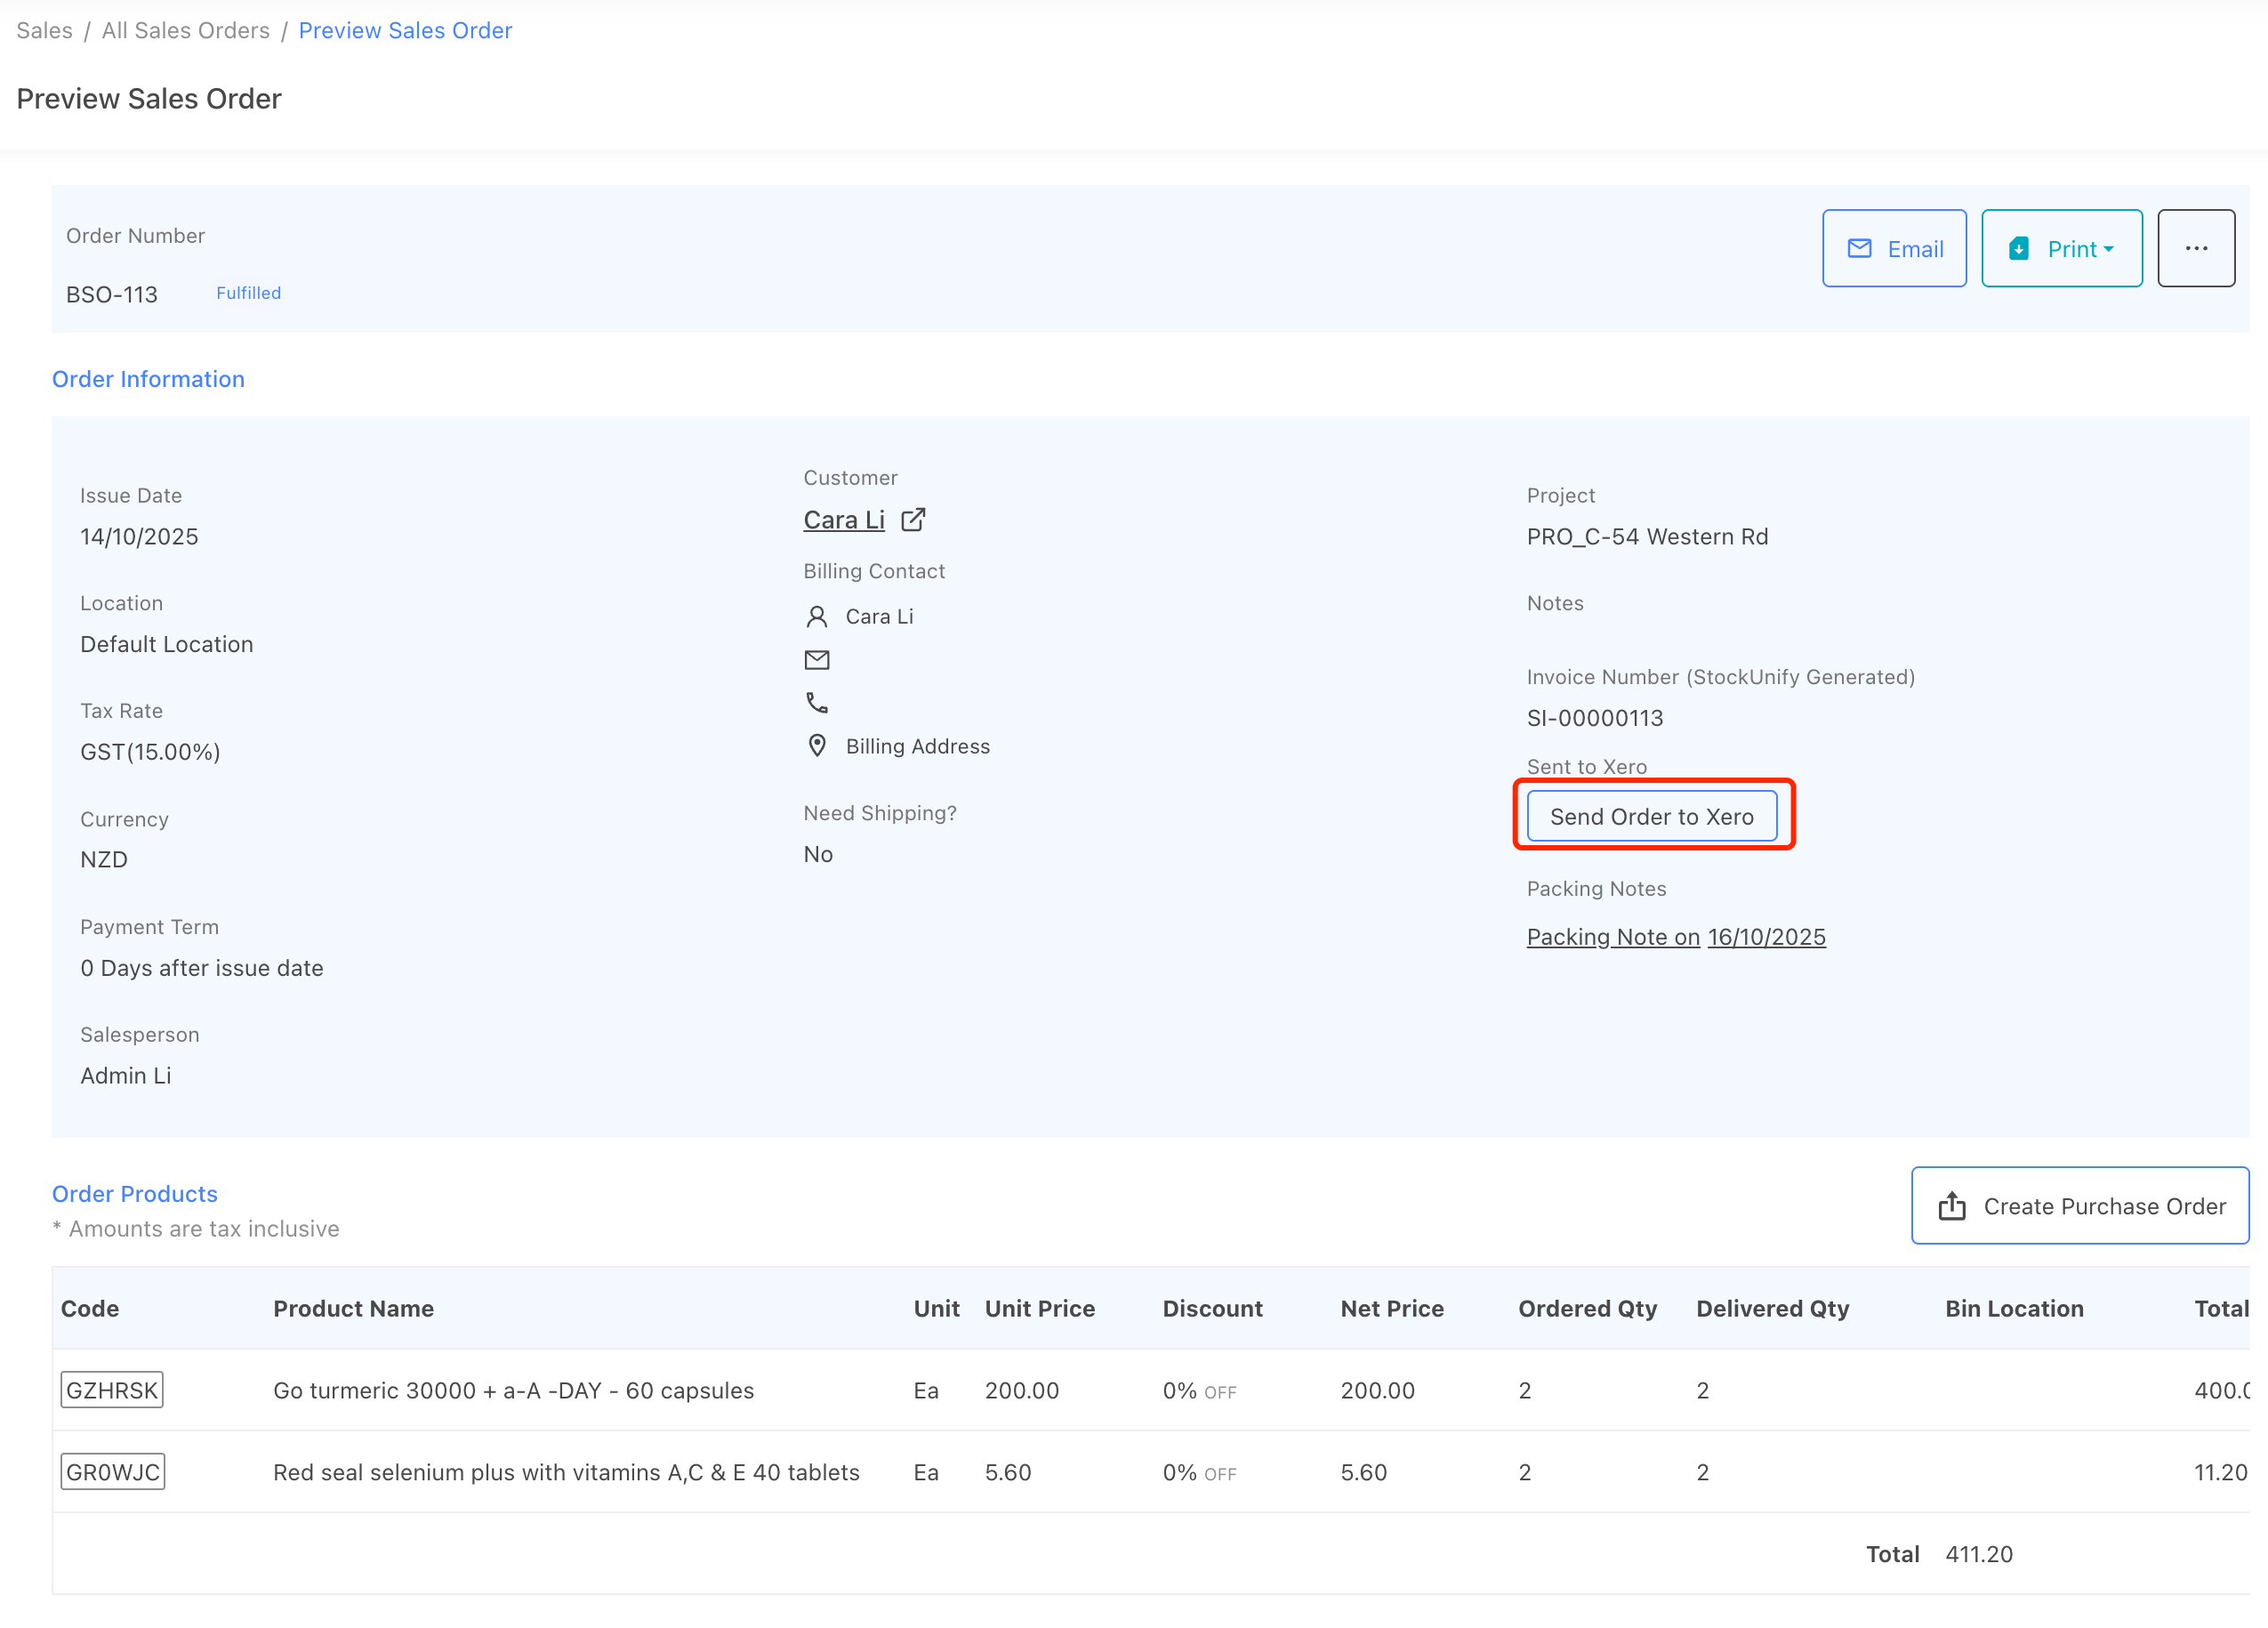
8. Send sales order to Xero
If your account is connected to Xero, you can send the sales order to Xero, then an invoice will be created in Xero. Y accounts.
Other Useful Features for Sales Order
Partially deliver a sales order
Add products to sales order by CSV file